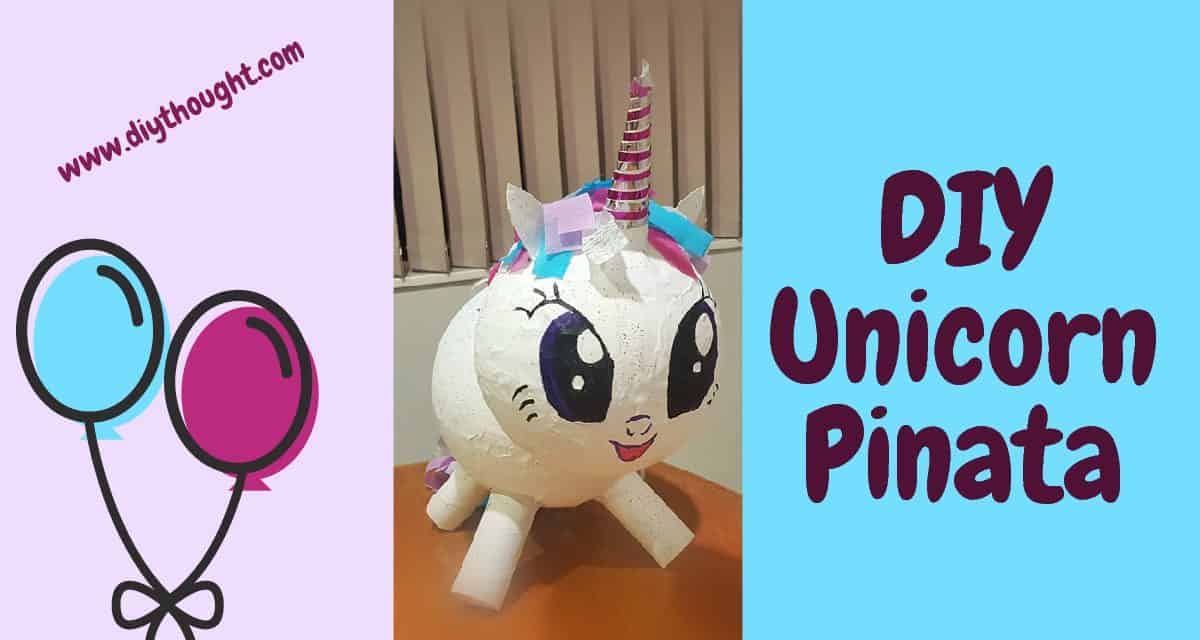
Diy Unicorn Pinata Made From Balloons
It is easy to make your own diy unicorn pinata made from balloons! In our home it is a tradition that for birthdays Dad and the girls work together to make a pinata. A couple of years ago (better late than never, right) they decided to make this diy unicorn pinata made from balloons. The photos aren’t the best but it really is too cute not to share!

Diy Unicorn Pinata Made From Balloons
What You Need
- x2 balloons
- Newspaper
- Flour and water OR watered down PVA, Mod Podge glue
- Cardboard Rolls for the feet
- Cardboard for the ears and horn
- Knitting needle or wire
- String or Yarn
- Scissors and tape
- Crape paper and ribbon
- Paint
- Permanent marker
Put It Together
First things first, you need to build the body. Blow up the two balloons, one for the head and the other for the body. Tape the two balloons together securely with tape so they resemble a head and body.
Paper Mache Glue Mix
Now, not to make things complicated but here you have a choice. It is possible to paper mache using mod podge or a watered down PVA mix. We ofter use watered down PVA as it seems to dry faster and firmer so not as many layers are needed. Alternatively, mix 2 cups of flour with 2 cups of water to form a paste and use this. It would also work well to do the base layers with the flour/ water mix and the final coat with watered down PVA.
Cut strips of newspaper and dunk them into the glue mixture to cover. Using your fingers remove excess glue and evenly lay onto the balloons. The trick is to apply the newspaper so it is smooth with as few lumps and bumps as possible. Overlap the newspaper on the balloons as this will help to create strength. Leave this coat overnight to dry then apply a second coat and let it dry.
Add The Legs, Ears and Horn
Cut the cardboard rolls into four, these are the legs. Stick these onto the bottom of the balloon body with tape.
Get some light cardboard and cut out some triangle ears. With more cardboard roll a cone shape, this will be the horn. Again stick the ears and horn on with tape. Check our photo if you are unsure on positioning.
More Paper Mache
Now that everything is in place it is time to paper mache again. This time apply the paper mache over the head, body and ears, horn and legs. Once this layer is dry gently press the body, if it feels firm then, well done this part is over if it pushes in a bit then apply another paper mache layer, dry and check again. You need it to be firm but not totally rock solid otherwise the pinata will take AGES to break open.
String and Candy Door
Your diy unicorn pinata is starting to look great but now we need a way to hang it up and to put the candy/ treats inside! A knitting needle is perfect for putting holes and string through the top of your pinata. One you have the four holes in the pinata use some tape and tape the string to the end of a smaller knitting needle and poke that back through the hole before removing from the needle. Once through tie the four ends together before adding a longer string which will be used to tie to where the pinata will be hanging from. Wire or pipe cleaners will also work if you don’t have knitting needles, just cut the holes with scissors first.
Cut a little trap door under where the tail will be for the candy with scissors. After you have cut the trap door make sure the balloon has popped and isn’t sticking to the bottom of the pinata as we want the candy and treats to fall easily out of the pinata when broken. Fill with candy and treats then tape the trap door back up. If you are in the mood apply some more paper mache over this part and leave to dry.

Paint and Decorate
Now for the fun part, painting and decorating! Our unicorn pinata was painted white but let your creativity flow and paint and decorate in any way you desire! We added a cutie mark (thank you My Little Pony) which added an extra element of joy. Paint and then wait until the first layer of paint has dried before adding another layer if needed and continuing with the face and finer details.
Use a black permanent marker and draw on the eyes. Wrap and glue on a ribbon around the horn, or stick on glue or gems, its up to you! Using crepe paper and some ribbon make a tail. Stick long strips of crepe paper and ribbon together then attach to the unicorns bottom.
Step back and admire your unicorn pinata. Take lots of photos as once the pinata fun begins it will never look the same again!
If you are planning a unicorn party then check out our Diy Unicorn Rainbow Party post here. Happy crafting!


latest video
news via inbox
Nulla turp dis cursus. Integer liberos euismod pretium faucibua
One Comment
Leave A Comment
you might also like
Parenting is a rewarding yet challenging journey, filled with decisions […]
As a landlord, one of the most crucial decisions you’ll […]


[…] Diy Unicorn Pinata Made From Balloons […]